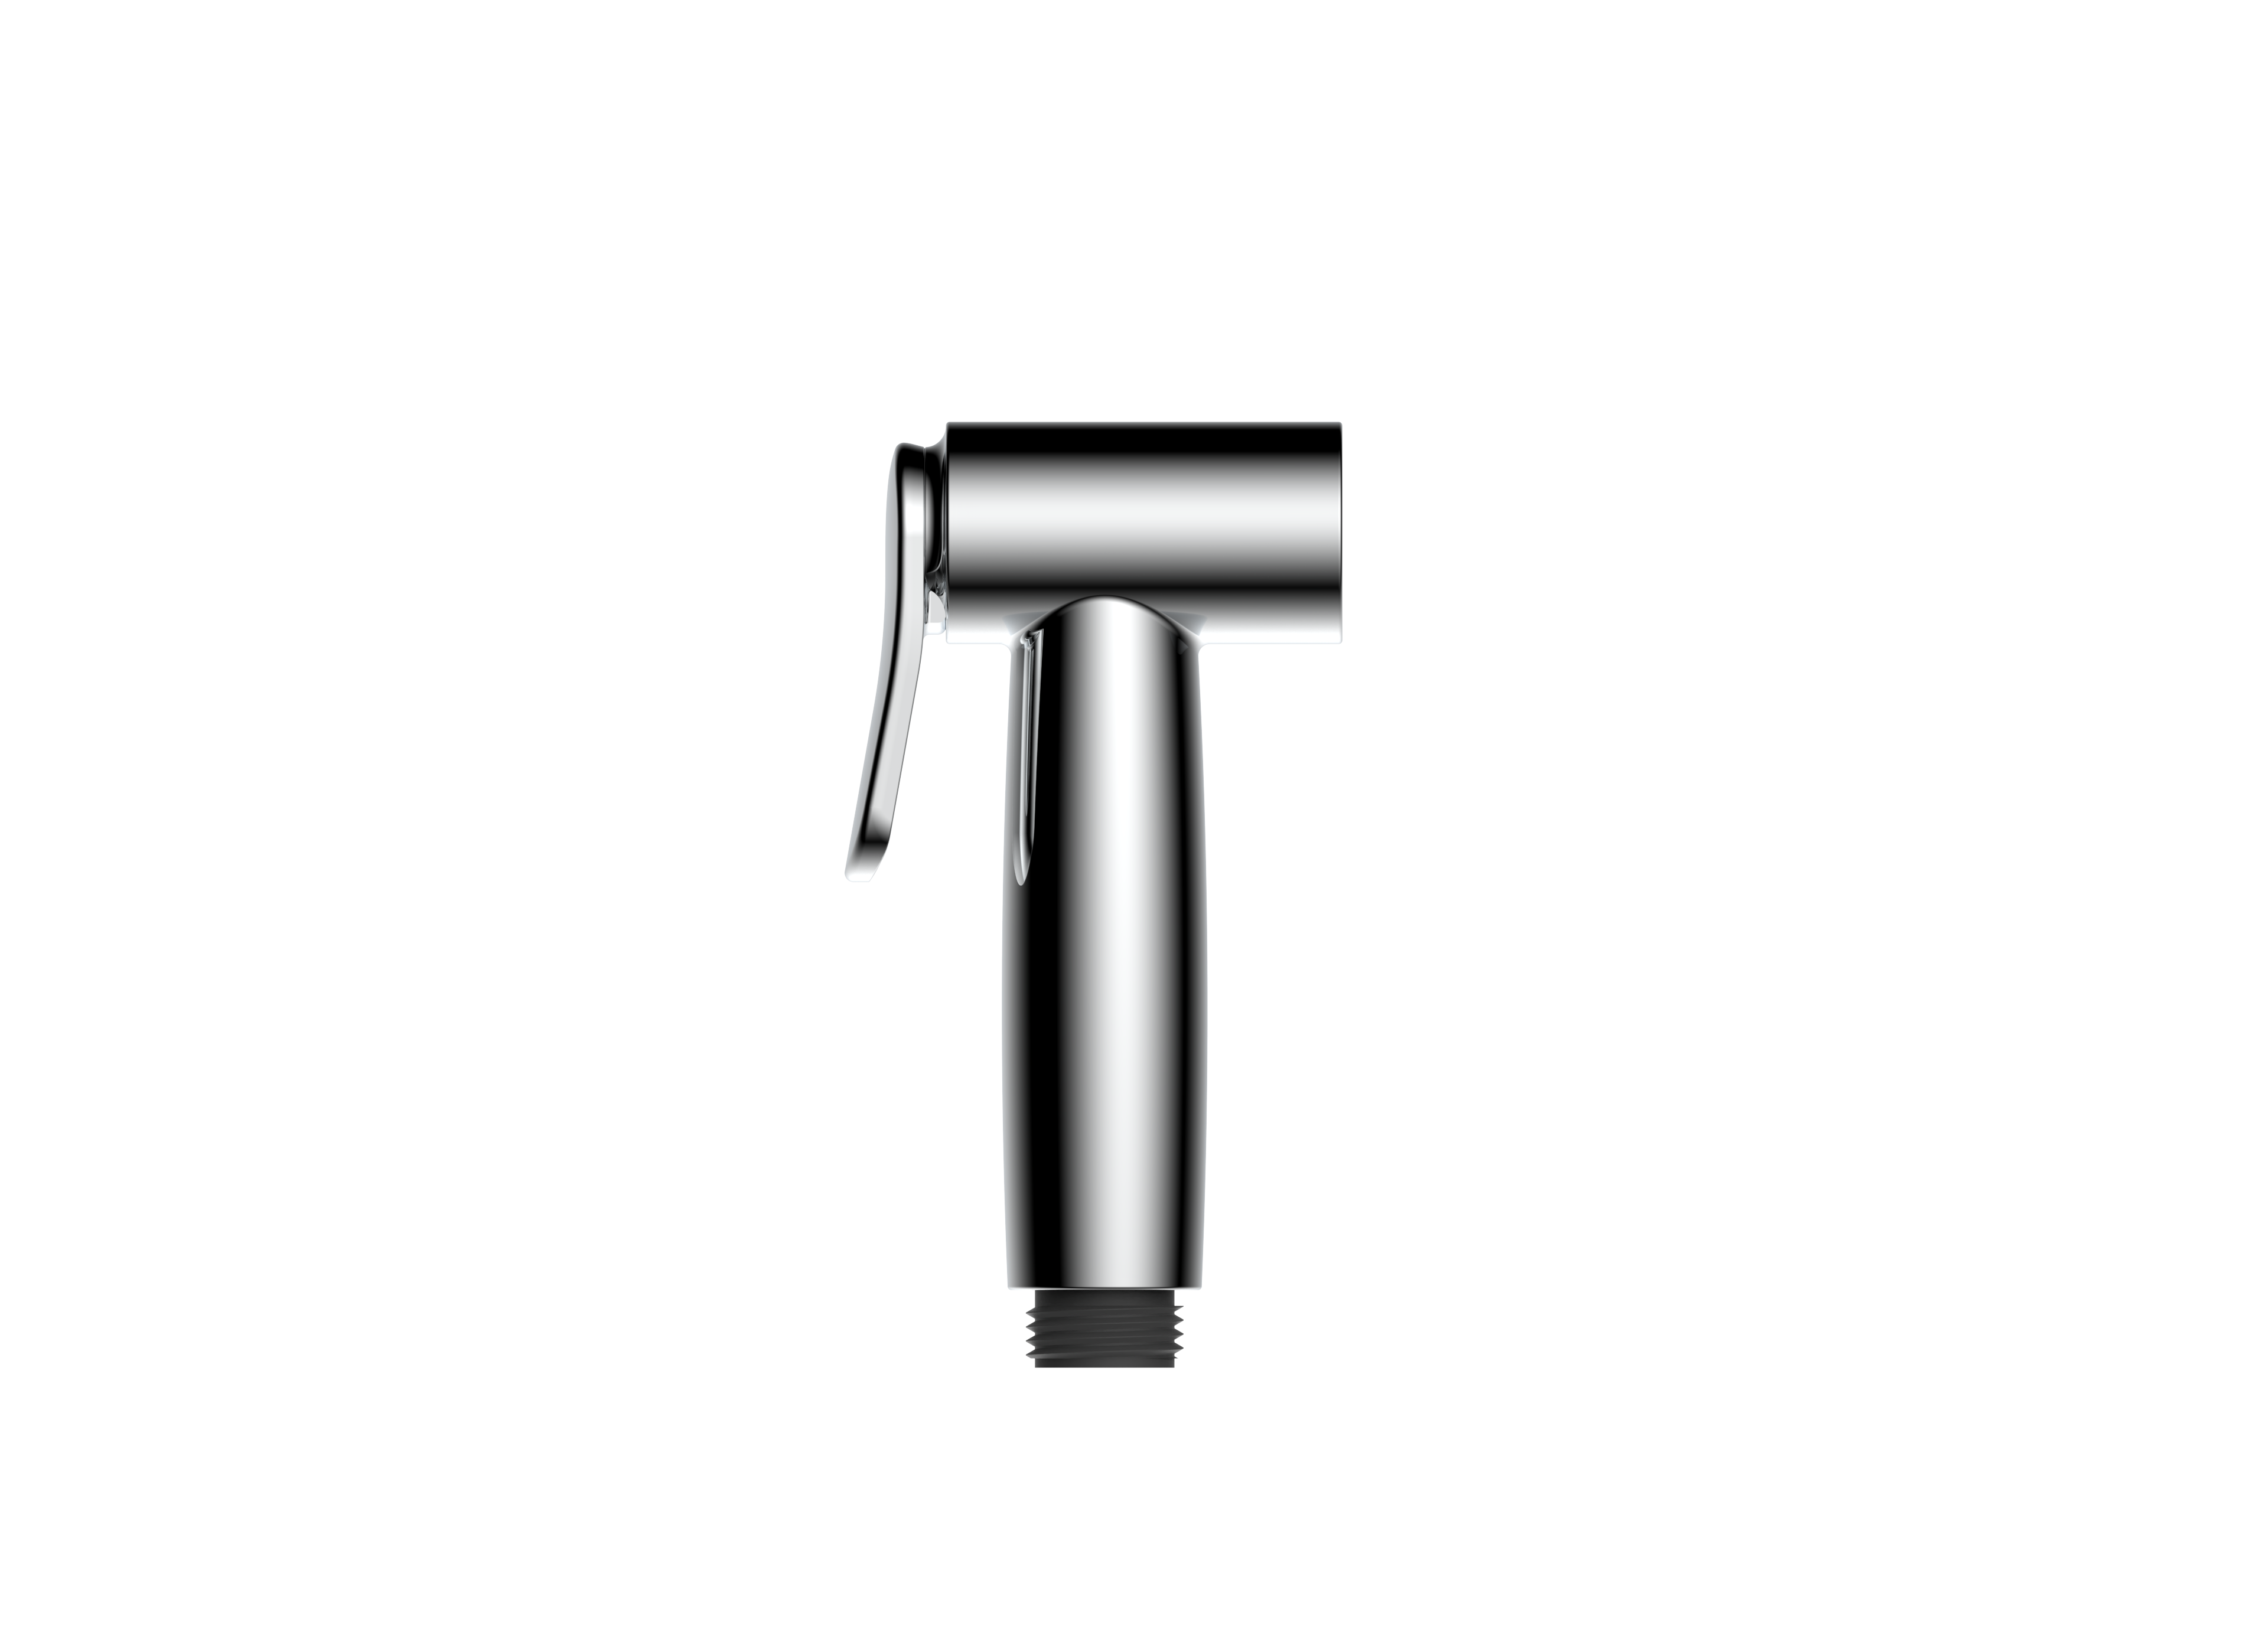
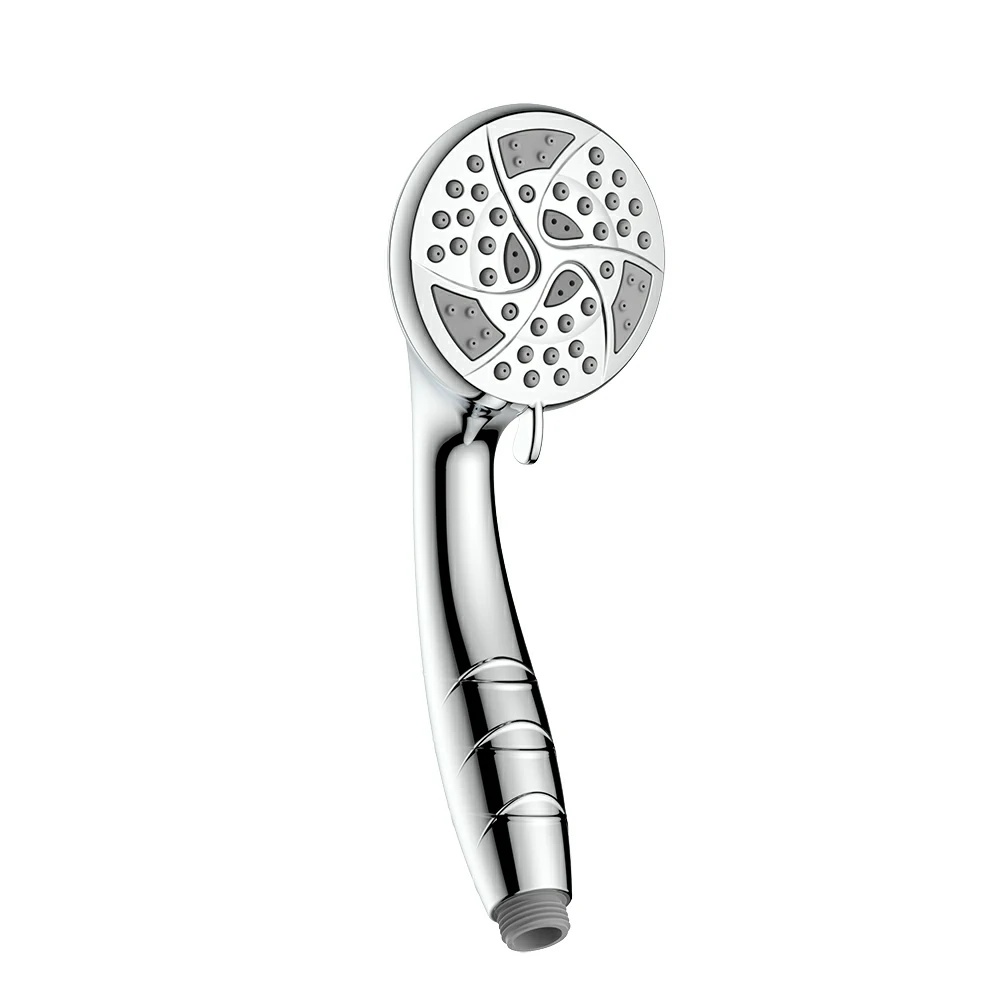
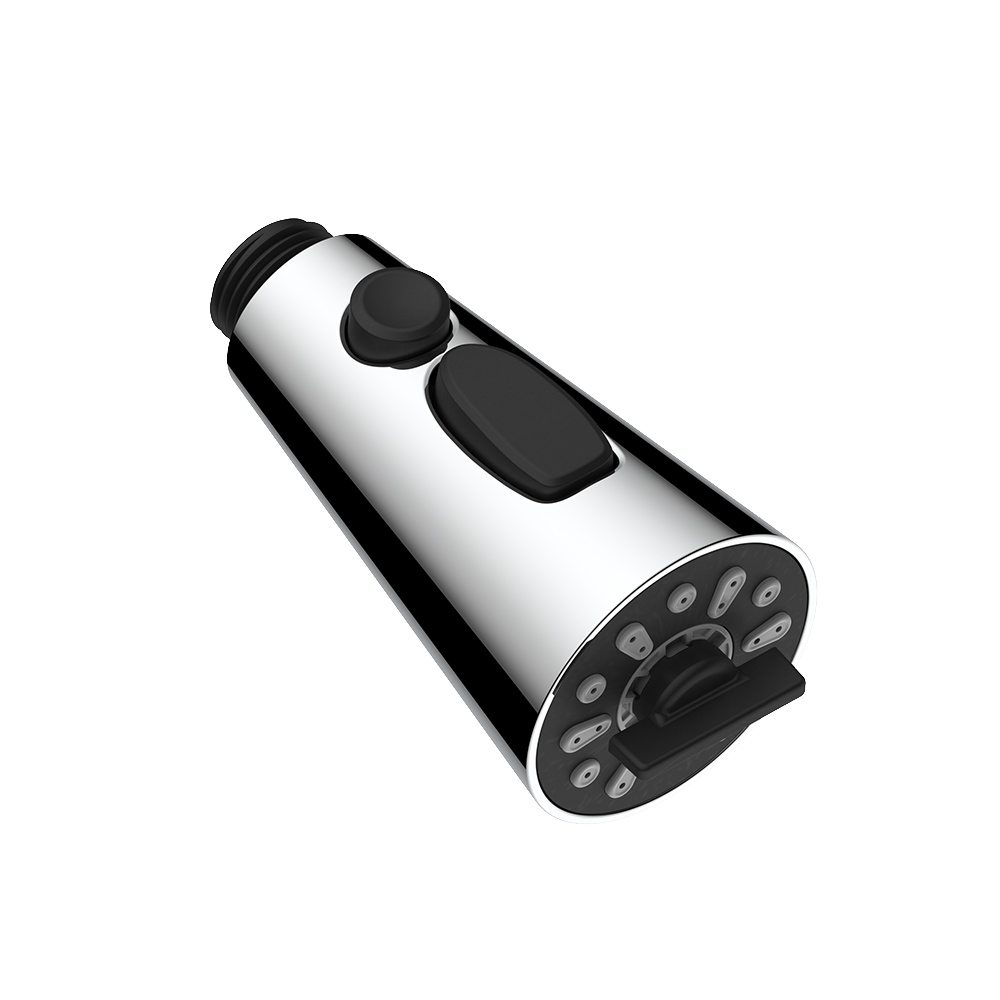
Flexible tap for sink, also known as pull-out or pull-down taps, have become increasingly popular due to their functionality and sleek design. Whether you’re upgrading your kitchen or installing a new sink, a flexible tap can make daily tasks like rinsing dishes and cleaning your sink much easier. In this guide, we’ll take you through the steps to install a flexible tap for sink and provide useful tips for maintaining it to ensure long-term performance.
What is a Flexible Tap?
A flexible tap for sink features a retractable hose, typically built into the spout. The tap’s design allows the spout to be extended, providing a greater range of motion, and making it easier to wash dishes, rinse vegetables, or clean the sink. These taps often come with adjustable water pressure and spray options, adding to their convenience and practicality.
Why Choose a Flexible Tap for Sink?
There are several benefits to installing a flexible tap in your kitchen or bathroom:
- Versatility: The retractable hose allows you to direct water exactly where it’s needed, making tasks like filling large pots or rinsing the sink more efficient.
- Style: Flexible taps add a modern, stylish touch to any sink area.
- Space-saving: Many flexible tap for sink are designed to retract seamlessly, ensuring they don’t take up too much space around the sink.
- Functionality: Multiple spray settings can make rinsing more effective and water use more efficient.
Now, let’s dive into how to install and maintain a flexible tap for sink.
Tools You’ll Need for Installation
Before you start the installation process, make sure you have the following tools on hand:
- Adjustable wrench
- Basin wrench
- Phillips and flathead screwdrivers
- Plumber’s tape
- Bucket or towel (to catch water during disconnection)
- A new flexible tap kit (ensure that it includes all necessary components like washers, mounting hardware, and hoses)

Step-by-Step Installation Guide
Step 1: Turn Off the Water Supply
Before you begin, ensure that the water supply is completely shut off. You can do this by turning off the valves located under the sink. If you don’t have individual valves for the sink, you may need to shut off the main water supply. Once this is done, open the existing tap to relieve any remaining water pressure in the pipes.
Step 2: Remove the Existing Tap
If you’re replacing an old tap, you’ll need to remove it first. Use a basin wrench to unscrew the nuts that secure the tap to the sink. Carefully detach the water supply lines using an adjustable wrench. Be prepared to catch any residual water in a bucket or with a towel.
Step 3: Prepare the Sink Area
Once the old tap is removed, clean the sink surface around the mounting holes. This will ensure a smooth installation of the new tap. If your sink has multiple holes and your new tap only requires one, consider using a deck plate (usually included in the kit) to cover the extra holes.
Step 4: Install the New Flexible Tap
Follow these steps to properly install the new flexible tap for sink:
- Insert the Tap: Place the tap through the mounting hole(s) in the sink. Depending on the model, you may need to secure a mounting plate or gasket underneath the tap base to prevent water leakage.
- Secure the Tap: From underneath the sink, secure the tap by tightening the mounting hardware. Use a basin wrench to tighten the nuts, ensuring the tap is firmly in place.
- Attach Water Supply Lines: Connect the hot and cold water supply lines to the corresponding inlets on the tap. Hand-tighten the connections first, then use an adjustable wrench to ensure they’re snug, but be cautious not to overtighten and damage the connections.
- Attach the Hose: If the tap comes with a separate pull-out hose, attach it to the underside of the tap according to the manufacturer’s instructions. Ensure it is securely connected.
- Check for Leaks: Once the tap is secured and the hoses are connected, slowly turn on the water supply. Check for any leaks at the connections. If you notice any, turn off the water, disconnect the lines, and apply plumber’s tape to the threads before reconnecting.
Step 5: Test the Flexible Tap
After installation, test the tap to ensure everything works correctly. Pull the hose out and check the retraction mechanism. Switch between spray and stream modes if available and confirm the water pressure is adequate. Make sure there are no leaks from the base or connections.
Maintaining Your Flexible Tap
Once your flexible tap for sink is installed, proper maintenance is essential to ensure it operates smoothly and lasts for years. Here are some maintenance tips:
1. Clean the Aerator
The aerator, located at the tip of the tap spout, mixes air with the water flow to reduce splashing and save water. Over time, mineral deposits and debris can clog the aerator, reducing water pressure. To clean it:
- Unscrew the aerator using pliers (wrap the pliers in cloth to prevent scratches).
- Soak it in a mixture of vinegar and water to dissolve any mineral buildup.
- Rinse and reattach the aerator.
It’s a good practice to clean the aerator every six months or as needed.
2. Inspect the Hoses Regularly
Flexible tap for sink rely on a retractable hose to function correctly. Over time, wear and tear may occur, especially if the hose is frequently pulled or twisted. Periodically inspect the hose for any cracks, kinks, or signs of wear. If you notice any damage, replace the hose immediately to prevent leaks.
3. Lubricate Moving Parts
The moving parts of a flexible tap, such as the hose retraction mechanism or the spout pivot, should remain smooth to operate efficiently. If you notice any stiffness, apply a food-grade silicone lubricant to the moving parts. Avoid using petroleum-based lubricants, as they can damage the tap’s components.
4. Avoid Excessive Force
While flexible taps are designed for extended use, it’s essential to avoid pulling the hose too hard or twisting it at sharp angles. Excessive force can cause damage to the internal mechanisms or lead to hose leakage.
5. Clean the Tap Exterior
To keep the tap looking new, clean the exterior regularly. Use a mild soap solution and a soft cloth to wipe away water spots and fingerprints. Avoid using abrasive cleaners or harsh chemicals, as they can scratch or tarnish the tap’s finish.
When to Replace Your Tap
No tap lasts forever, and over time, even with proper maintenance, your flexible tap for sink may need replacing. If you notice persistent leaks, a damaged hose that cannot be fixed, or worn-out components, it may be time to consider installing a new tap. A good quality tap should last 10 to 15 years with regular maintenance.
خاتمة
Installing and maintaining a flexible tap for sink can greatly enhance the functionality and aesthetic of your kitchen or bathroom. With the right tools and some basic plumbing knowledge, installation is a straightforward process. To ensure longevity, regular maintenance, such as cleaning the aerator, inspecting the hoses, and keeping the moving parts lubricated, is key. By following these guidelines, your flexible tap for sink will remain in top working condition for years to come, providing convenience and style to your sink area.

